Oh Crab!
Production: Devlog 3
Artist Devlog:
During this week I have been working on some smaller props, modular assets for the castles, and the water shader.
I have never touched Unity until this week and, having been under the gentle cradle of Unreal Engine for a year, it was quite difficult to figure everything out. I think Unity requires you to make a lot more choices that are ‘under the hood’ in Unreal, which was overwhelming and confusing for me. However, like Unreal, Unity has great documentation, so I was still able to navigate around.
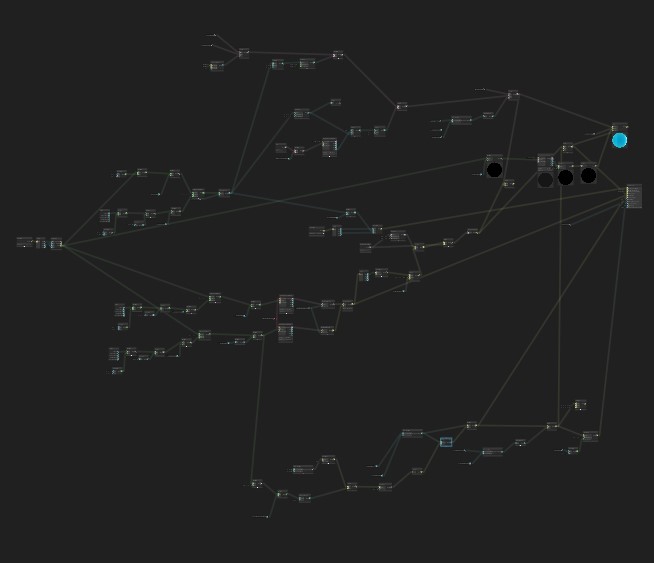
We decided to use HDRP for our game, because they support the Shader Graph. Although the shader graph is lacking compared to Unreal’s material system, I was pleasantly surprised by some of the features they had. Because the feature list is more minimalistic, it was less overwhelming, and it was very fun to think about ways to achieve the look I want. When working in Unreal after using Unity, I found myself missing ctrl+D to duplicate nodes and not having to make a separate constant for every parameter I want to change.
The water shader has edge foam, wave height movement, refraction, and opacity in certain areas. Although it does not look the best yet, I think it will look much better once I make and implement better textures – all the functionality is already built.
For the modular assets, it was difficult to refrain myself from modelling in too much detail. I kept the base models simple and textured in detail instead, as I didn’t want to use too many polygons when the castles won’t be very big on the screen.
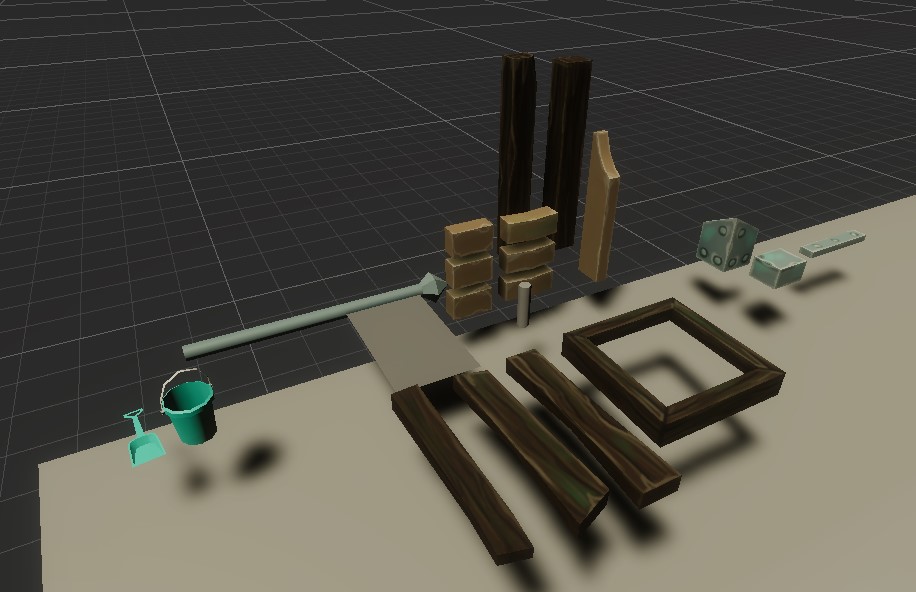
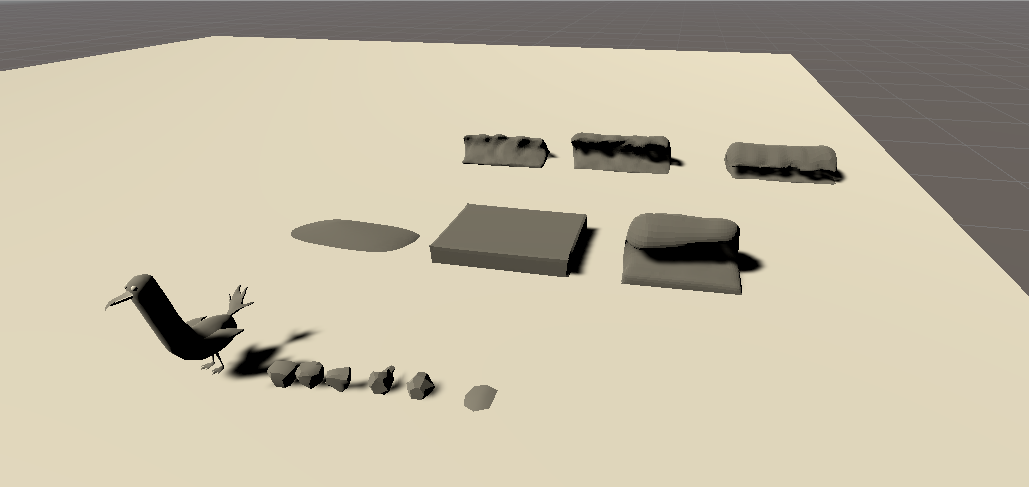
Created the models for the seagull, the clam, the small rocks and the waves.
For the clam, we decided to use an opacity map so that we can use as little polys as possible.
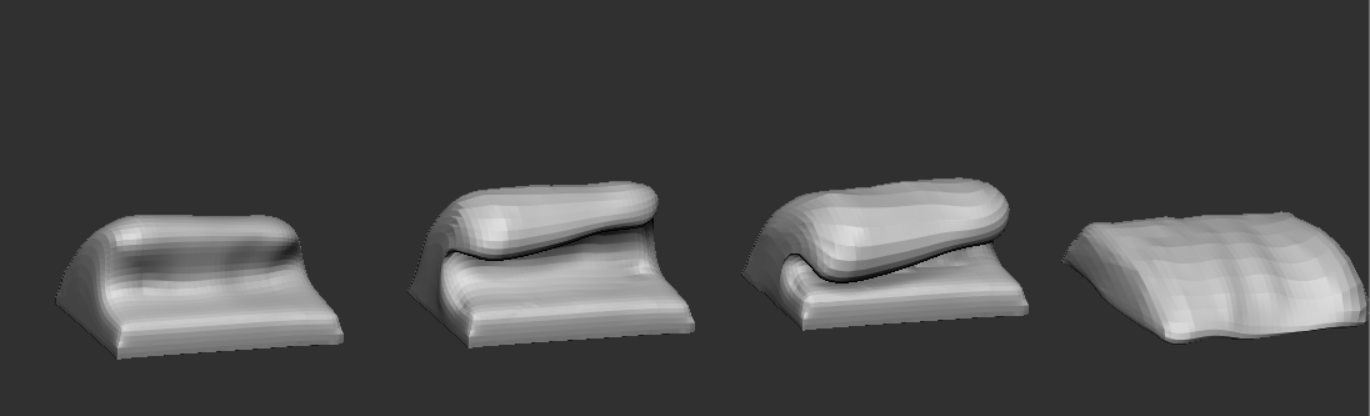
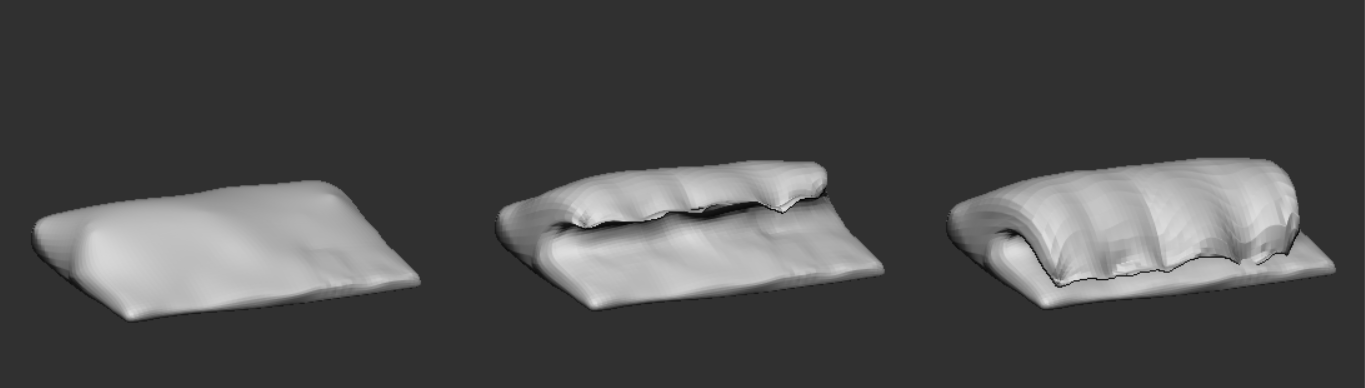
Two variations of wave blend models were created so that we can change the animation of the wave with a blend deformer from Maya. The models were sculpted in Zbrush and then brought into Maya to create the blend animations. We started with a flat water surface and then the wave and then the receding wave and into the water surface again.
We will be able to change the animation of the wave by using codes that are programmed into the scene. This will allow us to manipulate which type of wave we would want.
A star crawls out of the water and joins the work in progress models for this week. The progress on the crab progresses steadily with some reiteration on its design. Some experimentation is also made regarding finding solutions for the rigging of the legs so that clipping can be as minimized as possible, also ensure that we do not need to incorporate soft body rigging, seeing as the crab's hard outer shell would normally prevent this as well.
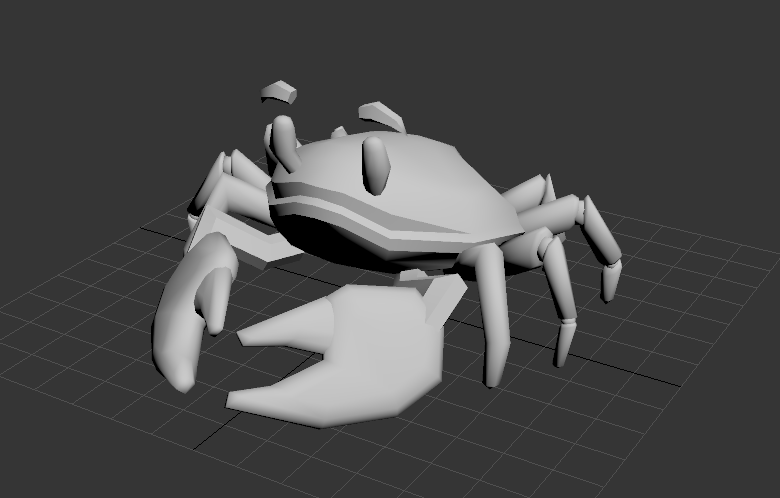
After some testing the method used to create the limbs has been determined to be an acceptable one as it allows for the level of animation required for the project. Now to add all that geometry to the rest of the crab!
Programmers Devlog:
While we started sprint 2, what we programmers needed to do is fairly simple: get everything that worked in the prototype in an orderly manner in the new project.
This means that the movement needed to be re-implemented, the digging and the interactions with the terrain needed to be smoother, base classes where needed, good folder structure, etc...
We started with the terrain, as it is a core component of the game. Implementing this in a clean way takes some time, but we are making progress.
For the movement: since we want to go for a console game (Xbox or Playstation) we need to get the controllers working. Since Xbox controllers work on a pc without the need for any drivers we used the image underneath to check for the axis and button inputs.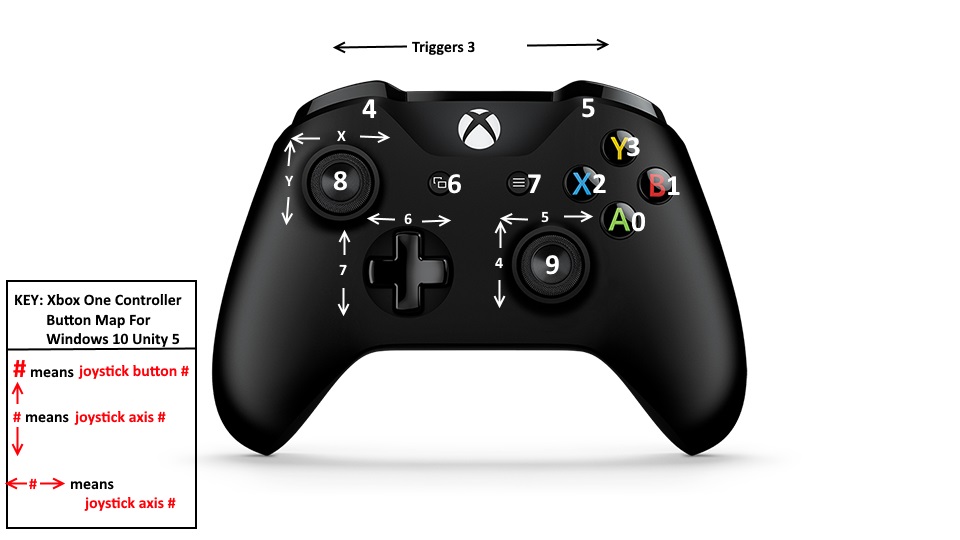
Leave a comment
Log in with itch.io to leave a comment.